Navigating the Depths of Danger: A Comprehensive Guide to the Cragmaw Hideout Player Map
Related Articles: Navigating the Depths of Danger: A Comprehensive Guide to the Cragmaw Hideout Player Map
Introduction
With enthusiasm, let’s navigate through the intriguing topic related to Navigating the Depths of Danger: A Comprehensive Guide to the Cragmaw Hideout Player Map. Let’s weave interesting information and offer fresh perspectives to the readers.
Table of Content
Navigating the Depths of Danger: A Comprehensive Guide to the Cragmaw Hideout Player Map

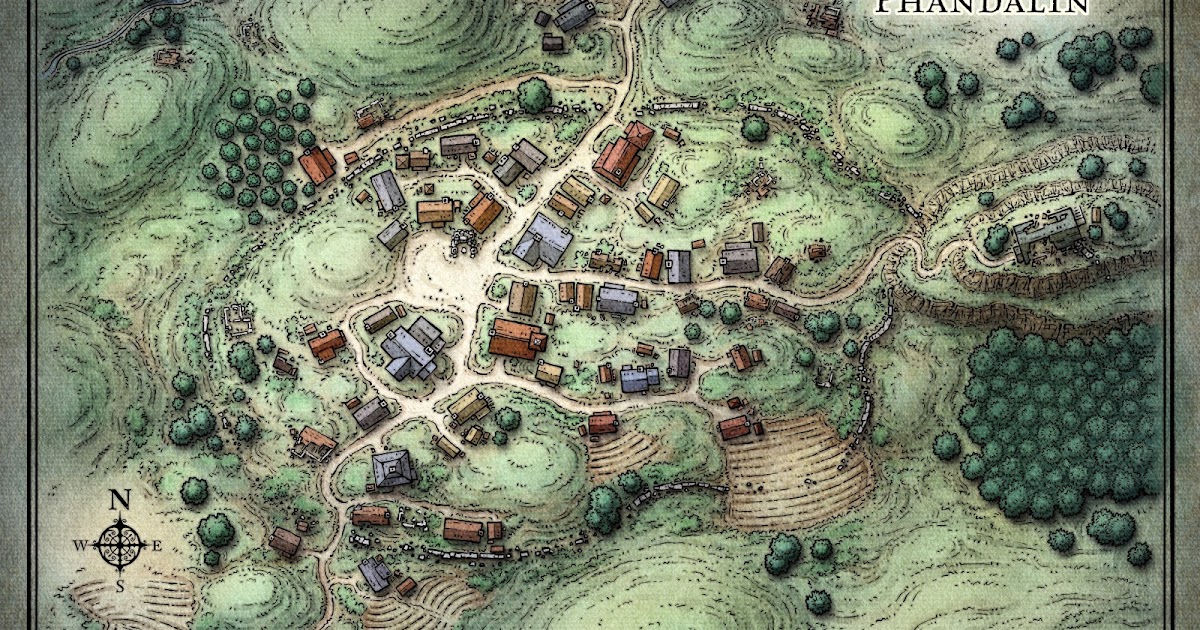
The Cragmaw Hideout, a notorious lair nestled within the frigid wilderness of the Sword Coast, serves as a formidable challenge for adventurers in the early stages of Dungeons & Dragons’ Lost Mines of Phandelver campaign. This treacherous location, teeming with goblin threats, demands careful planning and strategic navigation to ensure survival.
This comprehensive guide delves into the intricacies of the Cragmaw Hideout Player Map, providing a detailed understanding of its layout, key encounters, and potential strategies for success.
Unveiling the Hideout: A Map-Based Exploration
The Cragmaw Hideout Player Map is a valuable tool for Dungeon Masters (DMs) and players alike. It serves as a visual representation of the hideout’s structure, revealing the interconnectedness of its various chambers and corridors.
1. The Entrance: The journey into the hideout begins with a narrow passage leading into a cavernous chamber, where the first encounter awaits. This chamber houses a group of goblins, including the fearsome bugbear, Klarg.
2. The Goblin Camp: The main chamber of the hideout, this bustling area serves as the heart of the goblin community. Here, players may encounter a variety of goblins, including guards, scouts, and even a goblin shaman.
3. The Goblin Barracks: This cramped space provides shelter for the goblin warriors, offering a glimpse into their rudimentary lifestyle.
4. The Goblin Kitchen: This area holds a collection of scavenged goods, including a makeshift cooking fire and a makeshift table.
5. The Goblin Leader’s Lair: This secluded chamber serves as the private quarters of the goblin leader, Yeenoghu. It is here that players will likely find valuable clues and perhaps even the missing miners.
6. The Secret Passage: A hidden passage, accessible through the Goblin Leader’s Lair, leads to a small chamber housing a trapdoor that allows access to the lower levels of the hideout.
7. The Lower Levels: This labyrinthine network of tunnels and caverns houses a variety of dangers, including a formidable giant spider and the fearsome goblin leader, Klarg.
8. The Escape Tunnel: A narrow tunnel, leading out of the lower levels, provides a potential escape route for the adventurers.
Key Encounters and Strategies
The Cragmaw Hideout is home to a variety of challenges, each demanding different strategies for success.
1. The Bugbear Klarg: This fearsome creature is a formidable opponent, possessing a powerful attack and a penchant for charging into battle. Players should prioritize taking him down quickly, exploiting any weaknesses he may have.
2. The Goblin Shaman: This cunning enemy utilizes magic to enhance the goblins’ abilities. Players should focus on disrupting his spellcasting, either by attacking him directly or by silencing him with spells or effects.
3. The Giant Spider: This monstrous creature lurks in the lower levels, posing a significant threat to adventurers. Players should utilize ranged attacks and traps to minimize their exposure to its venomous bite.
4. The Goblin Leader Yeenoghu: This cunning and ruthless leader commands a formidable force of goblins. Players should be prepared for a challenging battle, utilizing teamwork and strategic positioning to overcome his forces.
5. The Trapdoor: This hidden mechanism leads to the lower levels of the hideout, offering a potential shortcut or escape route. Players should be cautious when approaching it, as it may be booby-trapped.
6. The Escape Tunnel: This narrow passage provides a way out of the lower levels, offering a potential escape route for adventurers. Players should be mindful of potential hazards and enemies lurking within the tunnel.
FAQs: Addressing Common Questions about the Cragmaw Hideout
1. What are the primary threats within the Cragmaw Hideout?
The Cragmaw Hideout is primarily populated by goblins, led by the cunning Yeenoghu and the fearsome Klarg. Other dangers include a giant spider, traps, and the potential for ambushes.
2. How can players navigate the Cragmaw Hideout effectively?
Players should utilize the Player Map to plan their movements, identifying key locations and potential dangers. Stealth and careful observation are essential for navigating the hideout’s intricate network of tunnels and chambers.
3. What are the best strategies for defeating the goblins in the Cragmaw Hideout?
Players should focus on utilizing their strengths and weaknesses to their advantage. Ranged attacks, flanking maneuvers, and crowd control spells can be particularly effective against goblin hordes.
4. What are the potential rewards for successfully navigating the Cragmaw Hideout?
Players may find valuable treasure, clues to the missing miners’ fate, and perhaps even a chance to gain a deeper understanding of the goblin culture and their motivations.
5. How can the DM utilize the Cragmaw Hideout Player Map to enhance the gaming experience?
The DM can use the Player Map to create a more immersive and engaging experience for players, incorporating elements of surprise, suspense, and strategic challenge.
Tips for Navigating the Cragmaw Hideout
1. Prepare for Ambushes: The Cragmaw Hideout is notorious for ambushes, so players should be prepared to react quickly and effectively.
2. Utilize Stealth: Stealth is essential for navigating the hideout’s intricate network of tunnels and chambers, allowing players to avoid unnecessary encounters and gain the upper hand in combat.
3. Focus on Teamwork: Teamwork is essential for overcoming the challenges presented by the Cragmaw Hideout, ensuring that players utilize their strengths to support one another.
4. Be Aware of Traps: The Cragmaw Hideout is littered with traps, so players should be cautious and alert to potential hazards.
5. Explore Every Corner: Exploring every nook and cranny of the Cragmaw Hideout can lead to valuable rewards and insights, uncovering hidden passages, secret compartments, and valuable clues.
Conclusion: Embracing the Challenge
The Cragmaw Hideout, as depicted in the Player Map, is a formidable challenge for adventurers. Its intricate layout, dangerous inhabitants, and potential for ambushes demand careful planning and strategic navigation. By understanding the hideout’s structure, its key encounters, and potential strategies for success, players can navigate the depths of danger and emerge victorious. The Cragmaw Hideout serves as a testament to the immersive and engaging nature of Dungeons & Dragons, offering a thrilling and memorable experience for adventurers willing to embrace the challenge.

![[OC] Navigating The Depths - Cave Map in Dungeon Draft : r/DnD](https://preview.redd.it/navigating-the-depths-cave-map-in-dungeon-draft-v0-cmsy8b1rvaua1.jpg?width=1080u0026crop=smartu0026auto=webpu0026s=421900310fa473cb39002420eaf45480ea512bfa)


Closure
Thus, we hope this article has provided valuable insights into Navigating the Depths of Danger: A Comprehensive Guide to the Cragmaw Hideout Player Map. We appreciate your attention to our article. See you in our next article!